How to Trim Your Dog's Nails at Home Without Stress
Nail trimming is where most owners panic. Here is the honest, calm way to do it at home without blood, battles, or tears, and when to let a groomer handle it.
To trim your dog's nails at home without stress, start with the right tool (scissor-style clippers or a Dremel grinder), find the pink quick inside the nail (shine a light from below on dark nails), and cut only 1mm slivers every 1 to 2 weeks. Keep styptic powder ready, stay calm, praise after every nail, and stop before your dog does. If nails are overgrown or the dog panics, book a professional Paw'dicure at PawsN'Surf in Lisbon for 15 euros.
Why Long Nails Hurt More Than You Think
Long nails are not a cosmetic problem. They change how your dog stands.
When a nail hits the floor before the paw pad does, the toe is pushed upward. The dog shifts weight backwards to compensate. Over weeks and months, that shift strains tendons in the wrist and shoulder, overworks the hips, and accelerates arthritis in older dogs.
You will also see splayed paws. Instead of a tight, neat foot, the toes spread wide because the nail is doing the work the pad should do. In long-coated breeds you may not even notice until you lift the paw.
If you hear clicking on tile or wood when your dog walks, the nails are already too long. That click is the sound of a tool hitting the ground instead of a cushioned paw.
Lisbon has one advantage here. The calcada, those small cobblestones everywhere, grinds nails down naturally for active dogs. If you walk your dog 60 to 90 minutes a day on pavement, you are doing half the work without knowing it. But this only helps if the dog actually walks. Sedentary dogs, puppies, seniors, and dogs who mostly use elevators and cars will always need hands-on trimming, calcada or not.
Nails that are ignored for months grow into curls. The quick grows with them. At that point you cannot trim short in one session without bleeding. It becomes a multi-week project, which is exactly why weekly maintenance is easier than monthly panic.
How to Tell When It's Time
You do not need a calendar. Your dog will tell you.
Four signals, any one of them is enough:
- Clicks on the hard floor. The moment you hear that tap-tap on tile, parquet, or stone, nails are past due. A properly trimmed nail is silent on flat surfaces.
- Visible past the paw pad when the dog stands. Look at your dog from the side while they stand normally. If the nail tip extends beyond the pad, it is touching the ground. Too long.
- Paw splays instead of sitting neat. Compare your dog's foot to a cat's. If the toes spread wide and the knuckles look flat, the nails are pushing the paw out of shape.
- Dew claw curls into the leg. The dew claw, that thumb-like nail higher up the leg, never touches pavement. It grows untouched. Left alone, it curves, digs into the skin, and infects. Check it every time.
Most dogs need trimming every 1 to 2 weeks. Small, lightly active dogs may need weekly. Big dogs who run on pavement daily sometimes only need every 3 to 4 weeks. You calibrate by checking, not by guessing.
Tools: Clippers vs Grinder, Honest Comparison
There are three tools that actually work. And a couple that do not.
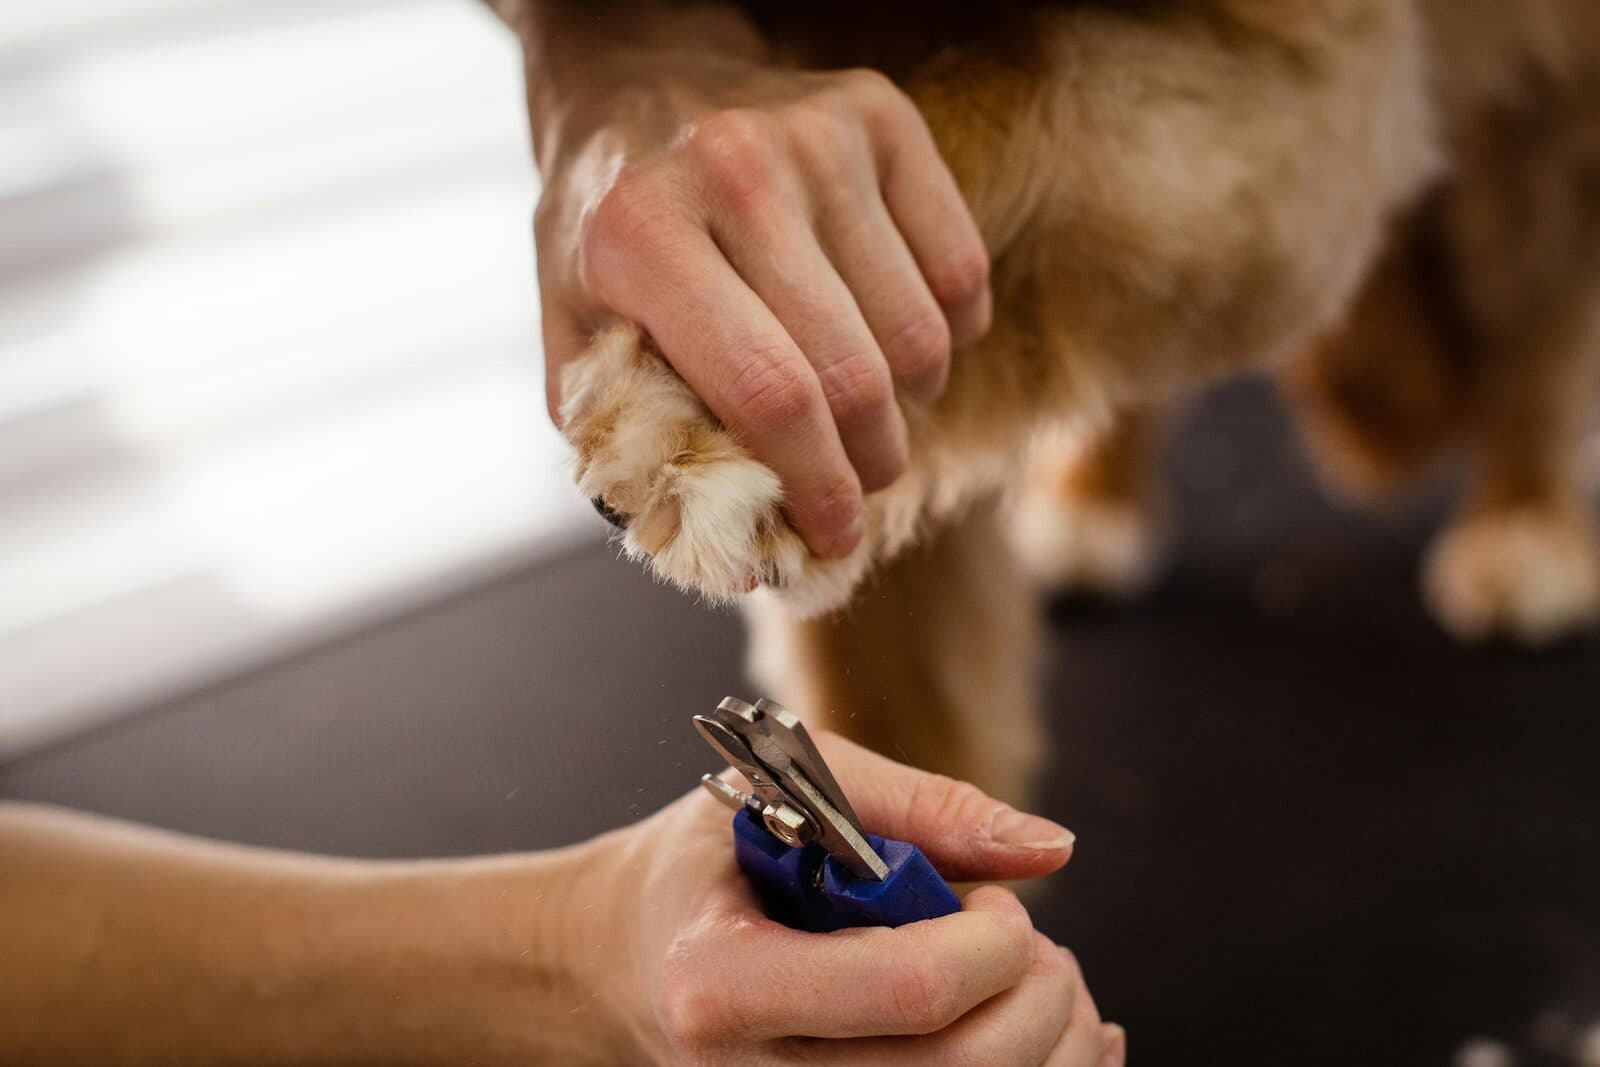
Scissor-style clippers (plier clippers). These are what most professional groomers use. The Millers Forge red-handle model is the industry standard and has been for decades. Two blades meet like pliers, making a clean cut in one squeeze. Sharp blades are everything here. A dull scissor clipper crushes the nail instead of cutting, which splits the nail and hurts. Replace or sharpen when you feel resistance.
Guillotine clippers (Resco, Safari). A ring-shaped blade slides across a hole where you insert the nail. Some owners find the angle easier on small dogs. Blades dull faster than scissor clippers and need replacement more often. Not our first recommendation, but they work if you like them and keep them sharp.
Nail grinders (Dremel 7300 or similar pet-specific units). A small rotary tool with a sanding band (60, 120, or 240 grit) that files the nail down instead of cutting. This is the gentlest option, especially for anxious dogs, thick nails, and dark nails where the quick is invisible. Trade-offs: it takes longer, it is noisy, and the vibration scares some dogs the first time. Desensitize to the sound before you ever touch the nail. Keep a sanding band fresh, and touch the nail in short bursts of 2 to 3 seconds to avoid heat buildup.
What we do not recommend. Human nail clippers crush the nail and split it. Safety scissors sold as dog nail scissors have the same problem. Kitchen scissors, for obvious reasons, no. If it is not built for dogs, do not use it.
Styptic powder is not optional. Keep Kwik Stop (Gimborn) or Miracle Care in the house before you cut the first nail. You might never need it. You also might need it in minute two. Cornstarch or plain flour works in a pinch if you run out, but it is slower.
Finding the Quick (The Part That Bleeds)
The quick is the living tissue inside the nail. It contains a blood vessel and a nerve. Cut it and your dog feels it, and bleeds.
On light-colored or translucent nails, the quick is easy. Look at the nail against a window or lamp. You will see a pink core running down the middle and stopping about 2mm before the tip. Trim below that pink line. Simple.
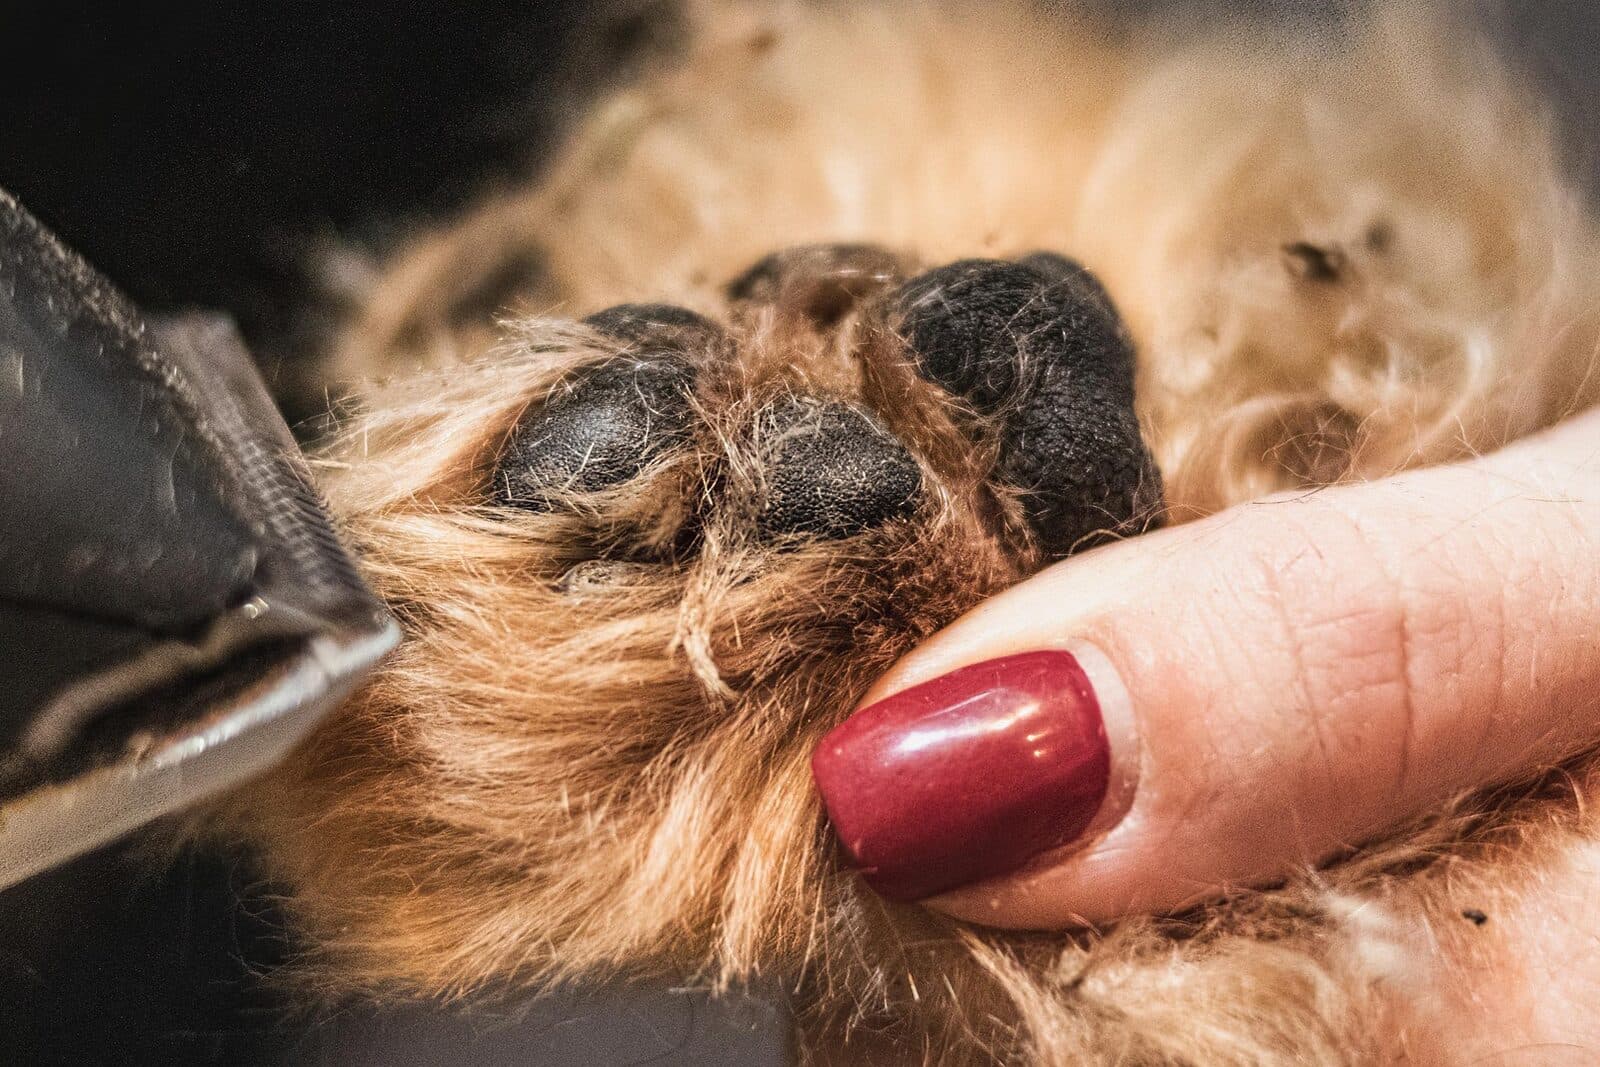
On dark or black nails, the quick is invisible from outside. This is where most owners panic and most injuries happen. Two techniques that work:
Technique 1: Light from below. Hold your phone flashlight or a small torch directly under the nail, pointing up into it. The nail becomes translucent. The quick glows as a darker pink or red core. You can see exactly how far it extends. This is the single most useful trick for dark nails.
Technique 2: Trim slivers and read the cut surface. Take off a tiny 1mm slice. Look at the freshly cut end. White or gray and chalky means you are in safe dead-nail territory, you can trim another sliver. A small dark circle appearing in the center of the cut surface means the quick is right there, stop. This is how professionals trim dogs they do not know.
There is also good news. The quick recedes over time. Every week you shorten the nail, the quick retreats a little toward the paw. A dog with weekly trimming has much shorter quicks than a dog trimmed twice a year. Consistent small trimming is the shortcut to short nails.
How to Trim Step by Step
Eight steps. Read all of them before you start.
- Gather your tools. Clipper or grinder, styptic powder within arm's reach, a pile of high-value treats (cheese, liver, whatever your dog would sell you for), and a bright light or phone torch. Do not start if anything is missing.
- Pick a calm moment. Not right after a walk when the dog is amped and panting. Not right before food when the dog is hungry and impatient. Best window: an hour after a walk, on a weekend afternoon, when the house is quiet.
- Position the dog. Small dogs sit between your legs on the floor or on a non-slip mat on a table. Medium dogs sit beside you with the paw in your hand. Large dogs lie on their side if they tolerate it. Hold the paw firmly but without squeezing. Spread the toes so the nail you want is exposed.
- Identify the quick. Shine the light from below on dark nails. For light nails, find the pink vein running down the center. Plan where your cut will go, about 2mm before the quick.
- Trim tiny slivers, 1mm at a time. Especially on the first few sessions and on dark nails. Big chunks are how you hit the quick. Small slivers let you check the cut surface and decide whether to take more.
- Angle the tool correctly. For clippers, angle the blade parallel to the nail's natural curve, cutting at roughly the same angle the nail already grows. Not straight across, which leaves a sharp leading edge. For grinders, approach at a slight angle to the tip.
- Grinder technique: short touches only. Touch the grinder to the nail for 2 to 3 seconds, pull back, check, repeat. Continuous grinding builds heat and burns the quick. Think tap-and-check, not drill-and-hope.
- Praise after every nail, stop before you have to. Treat after each nail. If the dog starts pulling, panting heavily, or shutting down, stop. One nail done calmly is a win. Four nails in a battle is a setback that costs you weeks of trust.
If You Nick the Quick (Don't Panic)
It happens. Even to professional groomers. It is not an emergency unless bleeding does not stop.
Dogs bleed dramatically from a small nick. It looks much worse than it is. Red on a white floor is terrifying, but the actual injury is minor.
Here is what to do in order:
- Stay calm and keep the dog still. Your panic becomes their panic.
- Press styptic powder directly onto the bleeding tip. A pinch of powder, firm pressure for 15 to 30 seconds with your thumb or a clean cloth. Do not rub.
- No styptic? Use cornstarch or plain flour. Works slower but works. Same technique: press, hold, do not rub.
- Check after 30 seconds. If bleeding has stopped, leave the nail alone. Do not wipe the scab off. Do not rinse with water.
- If bleeding does not stop after 5 minutes of direct pressure, call your vet. This is rare but possible, especially in dogs on certain medications. Do not keep trying at home.
The dog will forgive you. Do not quit nail trimming forever because of one bad session. Wait a few days, then start again with desensitization and a single nail. Your calm return matters more than the one cut that went wrong.
Building Nail Comfort Over Weeks (Desensitization)
Dogs who panic at nail trimming were not born that way. Most learned it from one bad session, or from never being handled as puppies. You can rebuild comfort in about two weeks of tiny, boring, low-pressure steps.
The protocol: one step per day, 2 to 3 minutes, always ending on a positive note with treats.
- Days 1 to 3: Touch paws, no tools. Sit with your dog. Gently hold each paw for 3 to 5 seconds. Treat. Release. That is it. If the dog pulls away, give lighter touches and still treat when they allow it.
- Days 4 to 6: Show the clipper or grinder. Let the dog see and sniff it. Hold it near a paw, do not touch the nail. Treat. Put the tool away. If you use a grinder, turn it on briefly at a distance so the dog hears the noise paired with treats.
- Days 7 to 10: Tap each nail with the closed clipper. No cutting. Just tap, treat, tap, treat. Dog learns: tool touches nail, food arrives. Nothing else.
- Day 11 onwards: Trim one nail. One. Sliver. Treat. Done for the day. Next day, maybe two nails. Build up to all four paws over two weeks.
This is slower than forcing it, and the return is huge. A dog who has been desensitized properly will hand you the paw on command for the rest of their life.
For puppies: start from week 8, the moment they come home. You are not trimming yet, you are just handling paws daily and pairing it with food. By the time the puppy needs real trims at 12 to 14 weeks, they do not flinch. This is the single highest-return investment you can make in a young dog's grooming future.
When to Bring Them to a Groomer
Honest take: some dogs will never tolerate DIY nail trimming. That is fine. It is not a failure.
If every attempt turns into a wrestling match, if you have cut the quick more than once and lost confidence, if the dog now runs the second they see the clipper, it is hurting the bond between you. Handing it off is the right move.
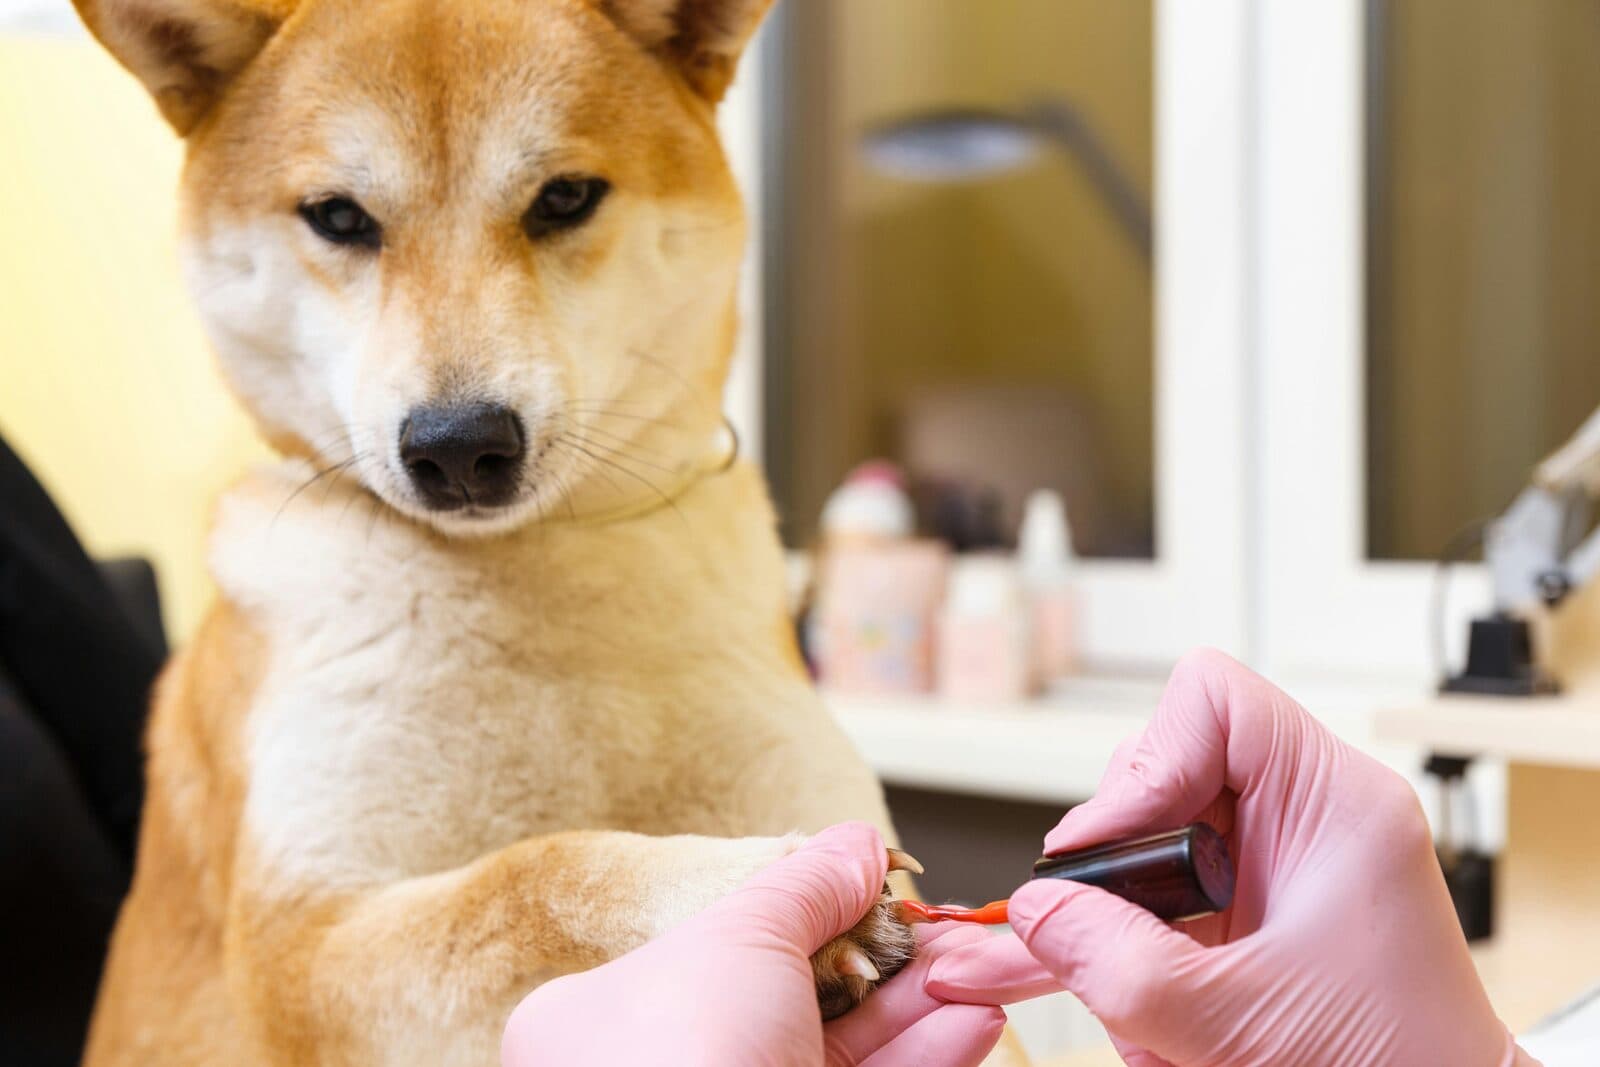
A Paw'dicure at PawsN'Surf is 15 euros and takes 20 minutes. That includes:
- Nail trim on all paws, including dew claws
- File to smooth sharp edges
- Pad check for cracks, debris, matted fur between the pads
- Calm handling by a groomer who has done this tens of thousands of times
We are in Lisbon, and we see everything: small breeds who scream before you touch them, rescue dogs with paw trauma, seniors with arthritis who cannot stand on three legs, fluffy dogs who need the foot-fur trim alongside the nails.
If you want to keep doing some grooming at home but outsource the nails, that is a smart setup. You keep the bond, we keep the nails short. Book online at pawsnsurf.com/book or walk in Mondays to Saturdays.